Bulk Actions & Imports
Last updated September 8, 2025
Overview
Bulk Import in Hypercore enables you to process large volumes of data in a single step, either by uploading a CSV/TSV file or by entering rows manually. This feature is especially useful for onboarding, migrating from another system, reconciling reports, or updating information at scale.
You can upload bulk items in two ways:
- Upload from File – Use a prepared CSV/TSV/TXT file with one record per row.
- Manual Entry – Enter multiple rows directly in the in-app table.
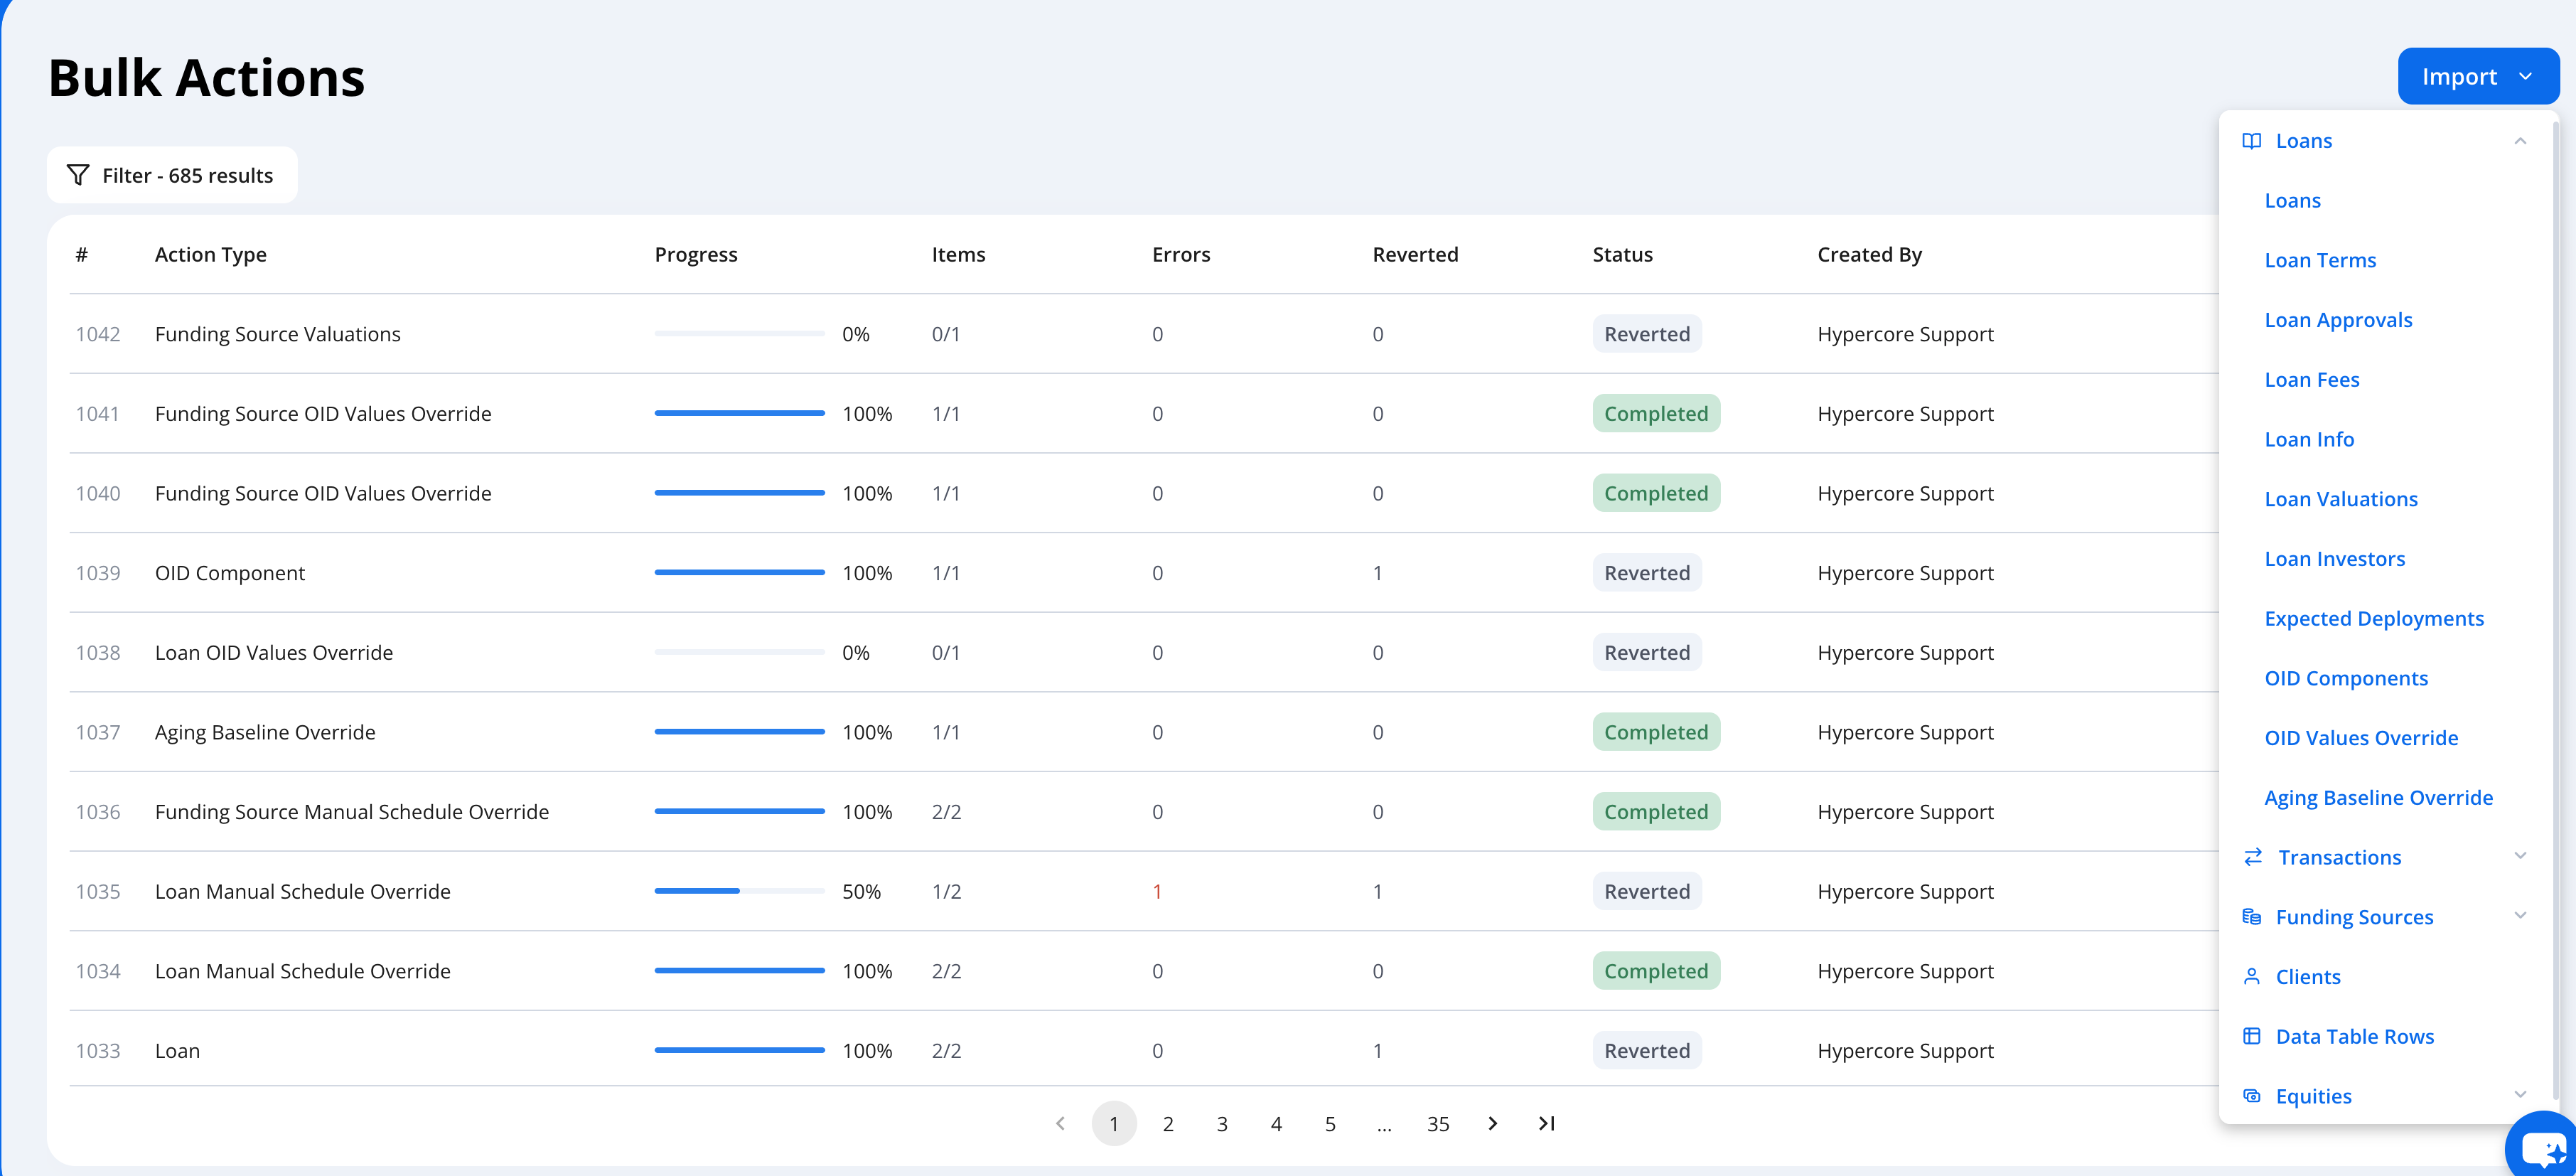
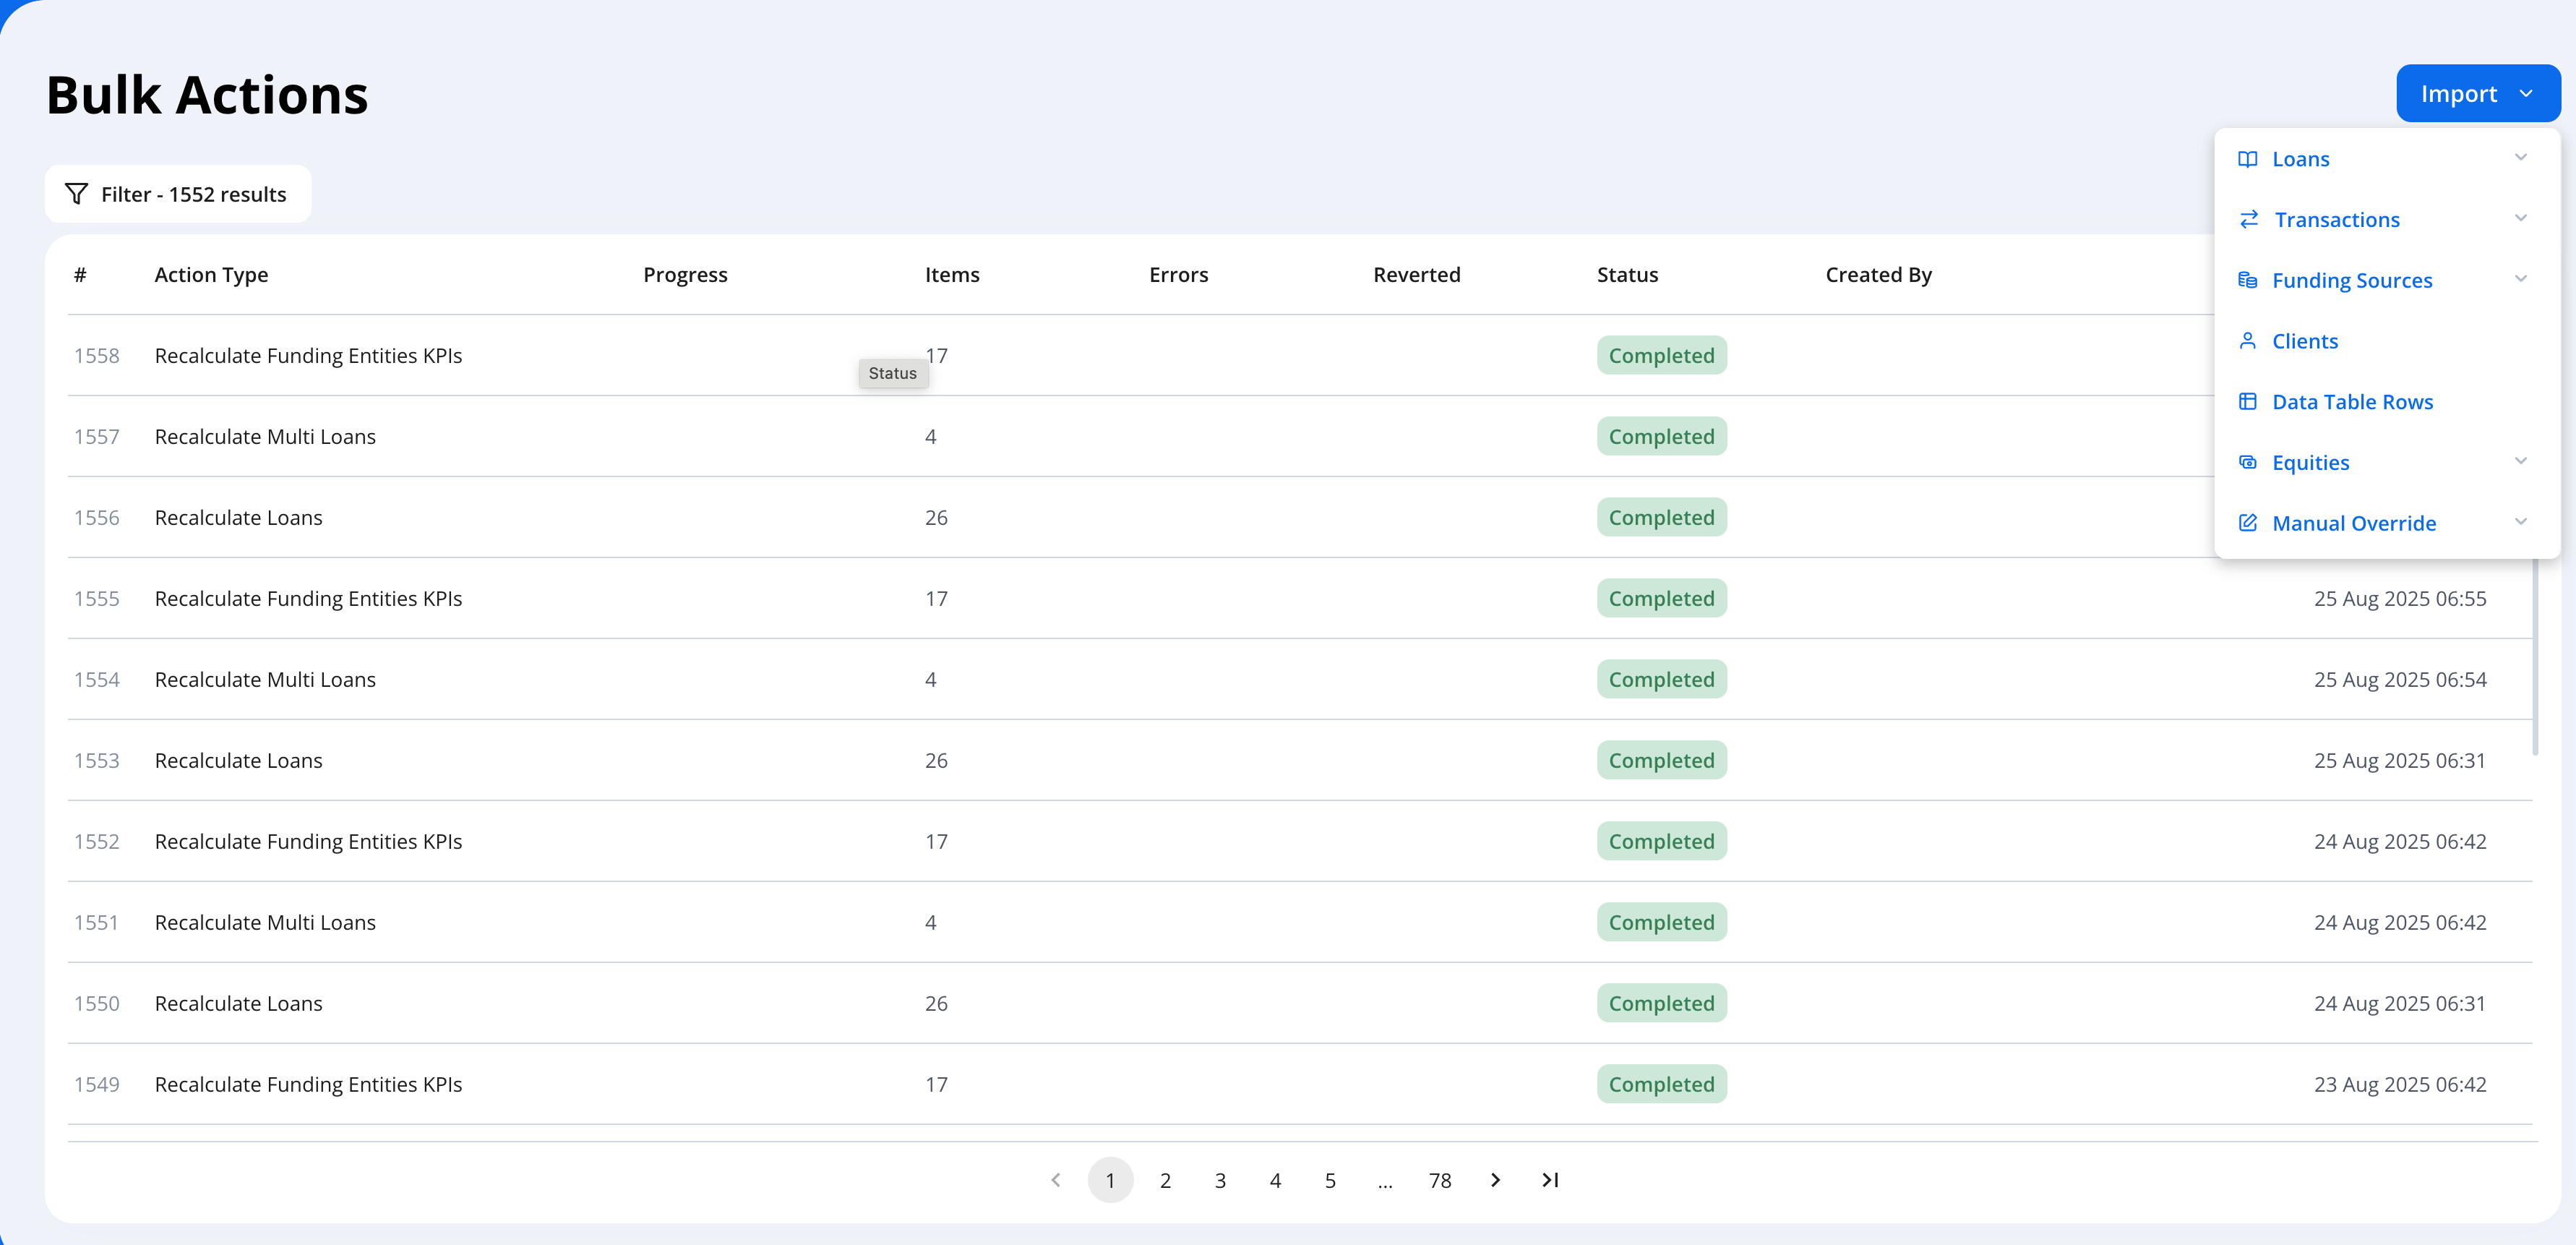
Import Types We Support
Loan
- Loans – Upload loans in bulk; generally used for onboarding. Most complex and large bulk item.
- Loan Terms – Upload new loan terms in bulk. ⚠️ Automatically replaces previous terms; cannot be undone.
- Loan Approvals – Transition multiple loans at once from Pending to Approved.
- Loan Fees – Upload individual fees per loan, allowing multiple fees per loan entry.
- Loan Info – Update or bulk load metadata about loans.
- Loan Valuations – Upload Fair Market Value (FMV) and methodology for each loan.
- Expected Deployments – Upload commitments and expected deployments by date for each loan. This overrides Hypercore’s schedule.
- OID Components – Upload Original Issue Discount (OID) components in bulk.
Funding Sources
- Transactions- Upload transactions linked to a funding source.
- Cash Flow Transactions – Upload cashflow transactions linked to a funding source.
- Valuations – Upload FMV valuations for funding sources.
Clients
- Create or update a list of clients in bulk.
Data Table Rows
- Upload data for custom entity tables (Loan, Client, etc.).
Equities
- Equities – Upload equity positions related to loans or clients.
- Equity Valuations – Upload valuations for equity positions.
Manual Override
- Loan OID Values – Override system-calculated OID values (like: OID rate, OID cost etc) for loans.
- Loan Aging Baseline – Set a baseline snapshot of a loan's aging values for a specific date (used for reporting and analysis).
- Loan Schedule – Override Hypercore’s loan schedule calculations. The last row must include outstanding values, which Hypercore uses to calculate future schedules.
- Funding Source Schedule- Override Hypercore’s funding source schedule calculations. The last row must include outstanding values for accurate projections.
- Funding Source OID Values- Override system-calculated OID values (like: OID rate, OID cost, etc) for funding sources.
Bulk Import Flow Example: Clients
The Import Clients feature demonstrates the standard process used for all bulk imports in Hypercore. While this example focuses on client records, the same steps apply to loans, fees, transactions, funding sources, and other bulk data types.
1. Navigating to Bulk Actions & Imports
- From the left-hand navigation bar, click the Portfolio icon.
- In the expanded menu, select Bulk Actions & Imports.
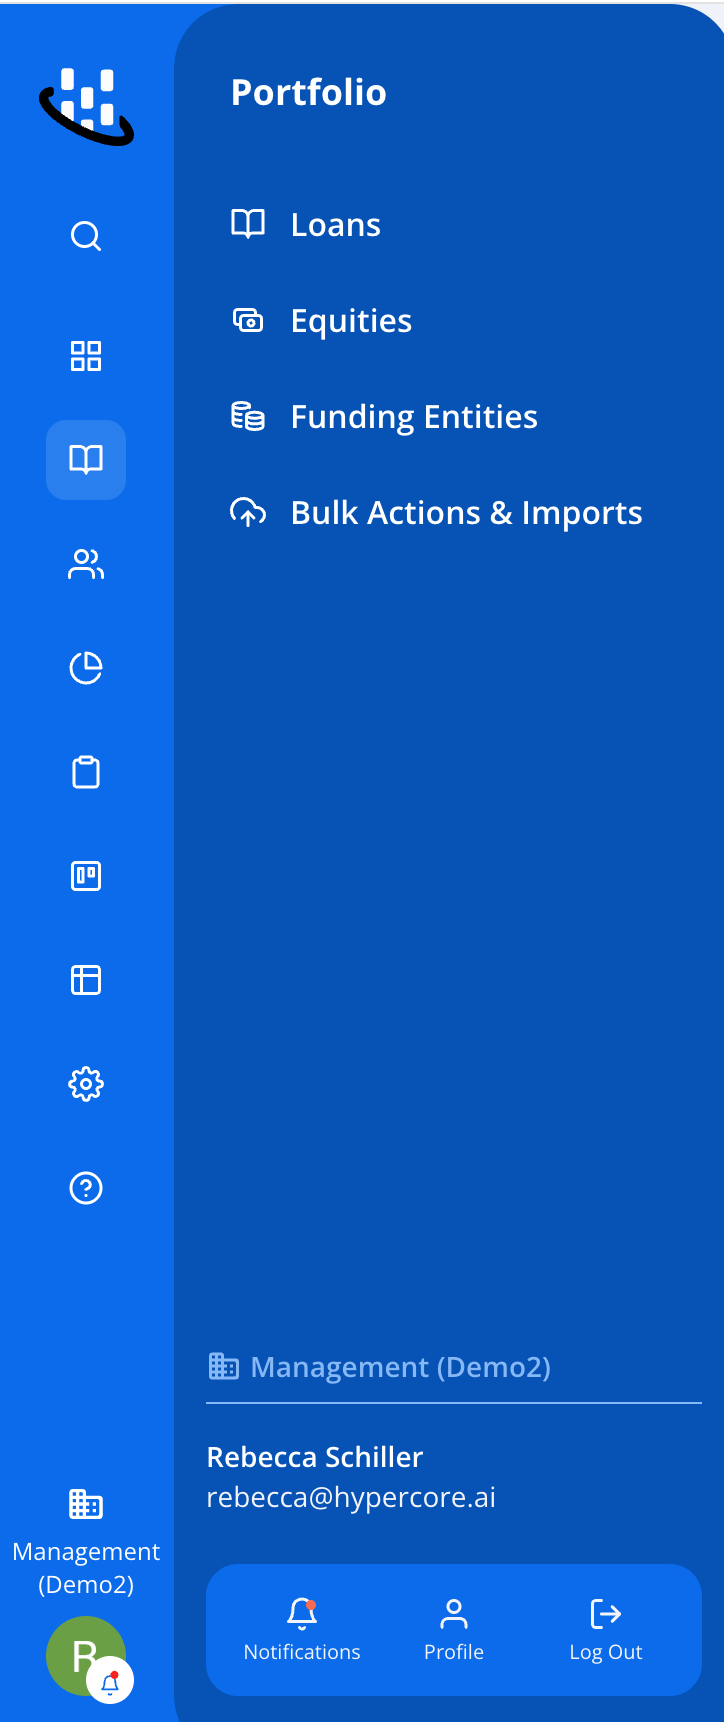
- From here, choose Import Clients.
2. Choose Import Method
Once you open Import Clients, you’ll see two options: Upload data from file or Input data manually.
2.1. Input Data Manually
- Use the table below the file upload section.
- Add rows for each client using + Add rows.
- Complete the fields (minimum: Client Type + Name/Company).
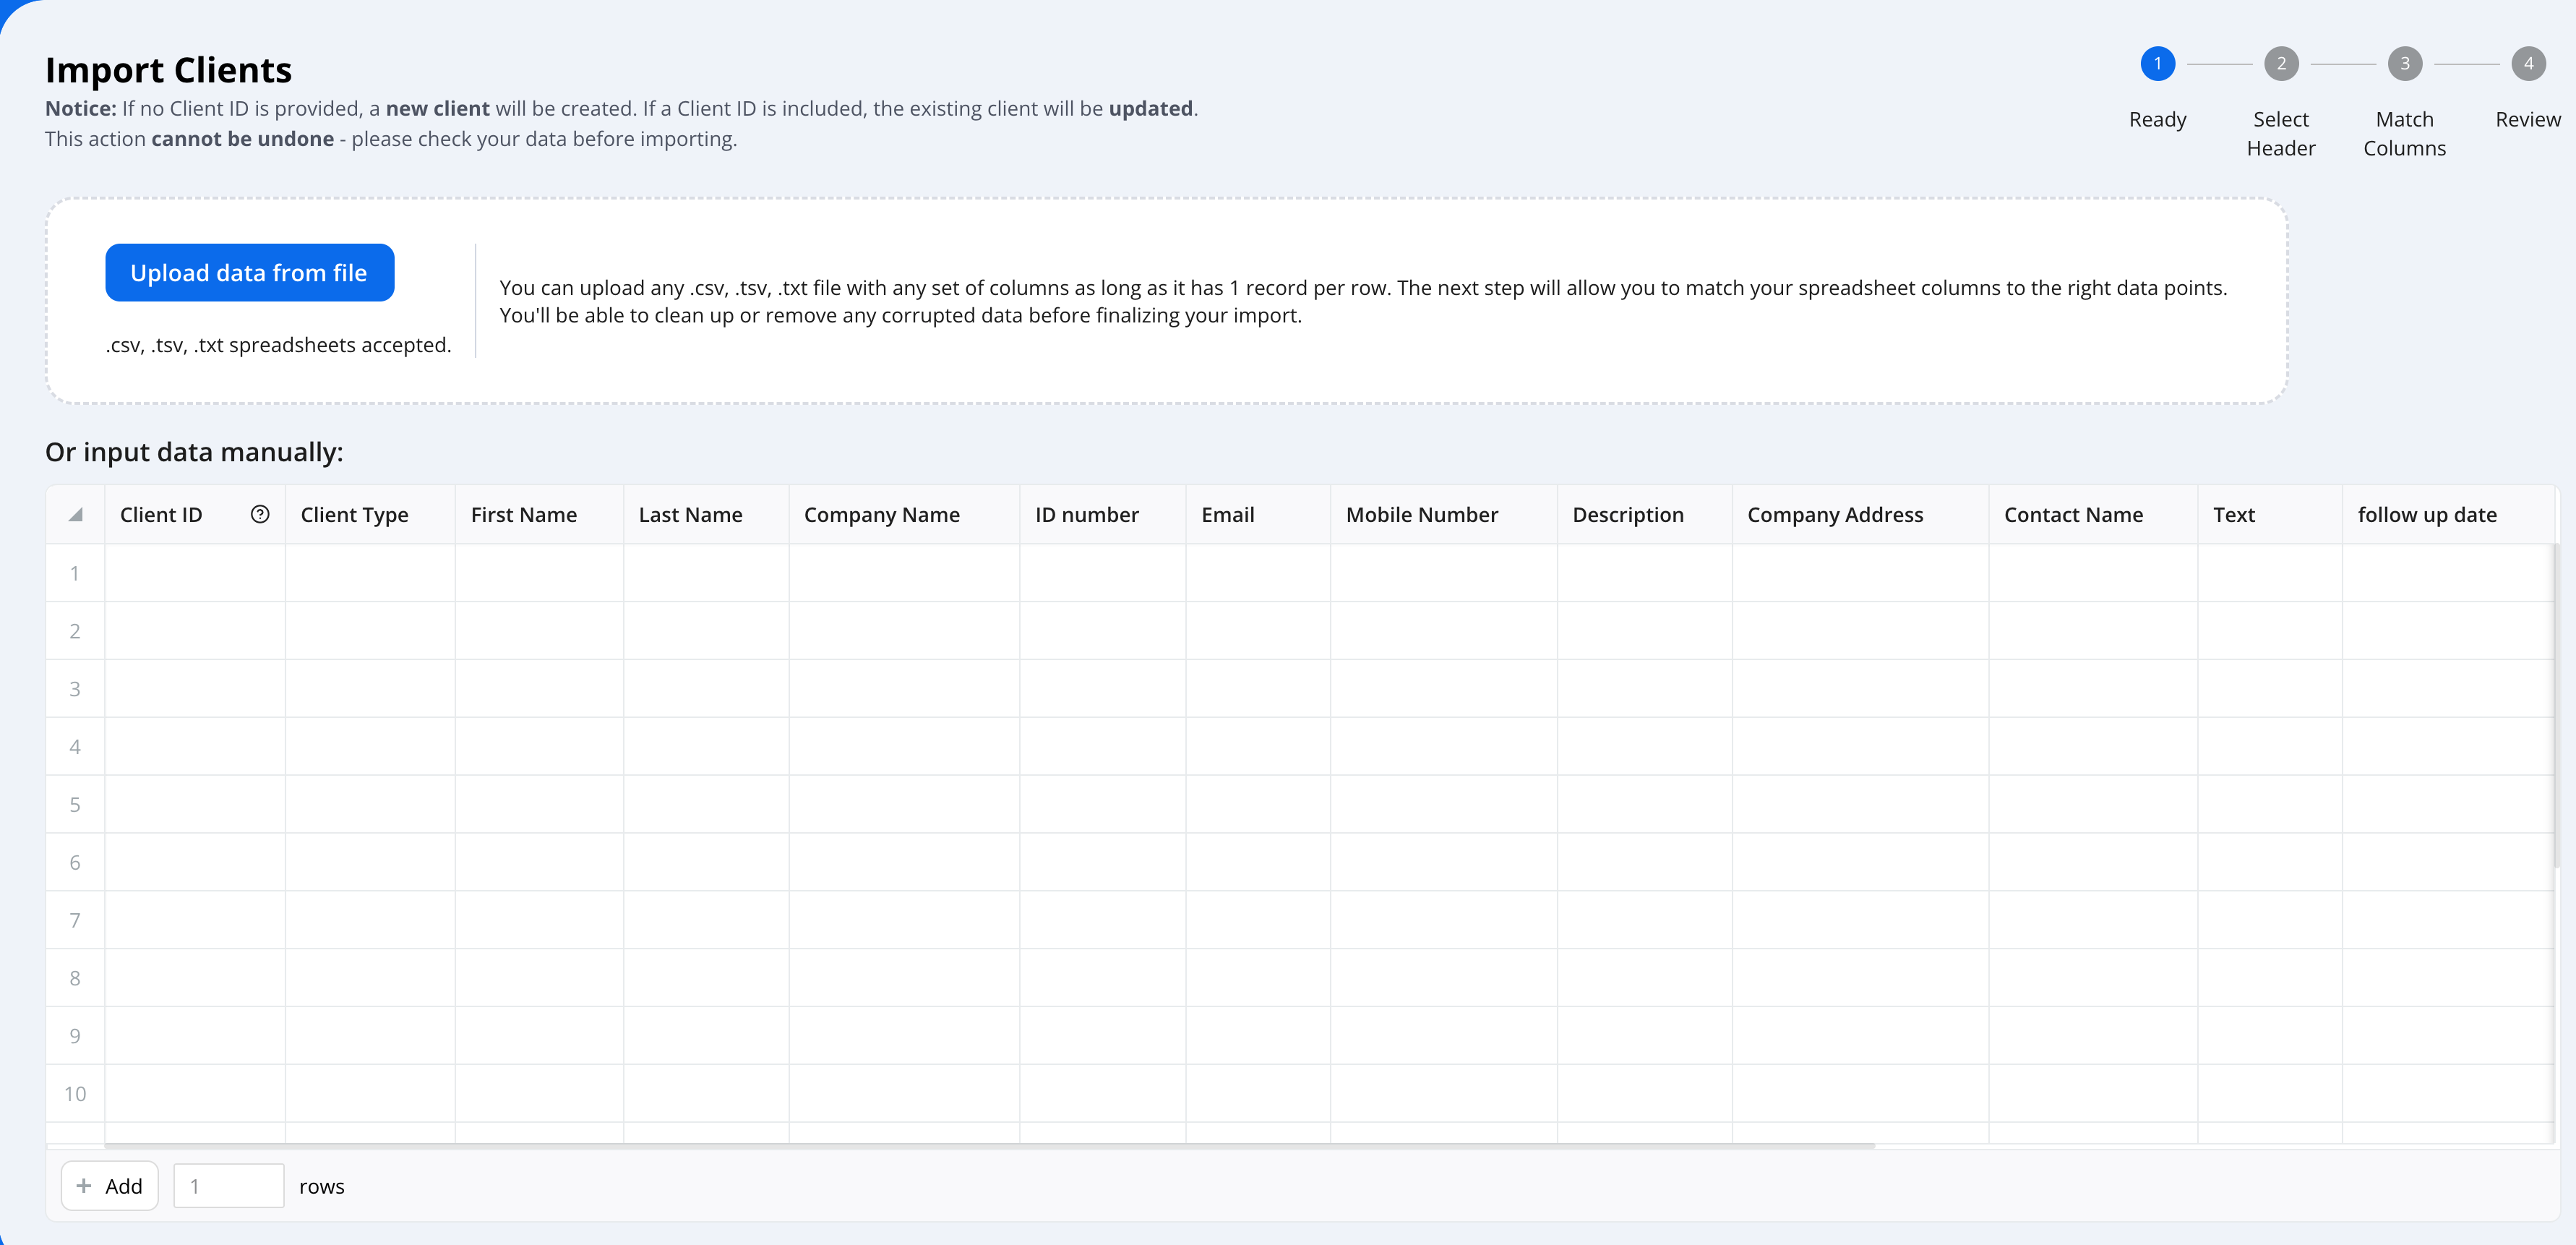
⚠️ Important:
- If no Client ID is provided → a new client will be created.
- If a Client ID is included → the existing client will be updated.
- This action cannot be undone, so review carefully before confirming.
2.2. Import from a File
- Using Templates/ Upload File – Download the Hypercore template from the top of the page, fill it out in Excel, and upload it back into the system. (Available for: Loans, Loan Fees, Transactions)
- Click Upload data from file and select a spreadsheet in
.csv,.tsv, or.txtformat. Each row should represent one client. - Select Header → confirm the header row.
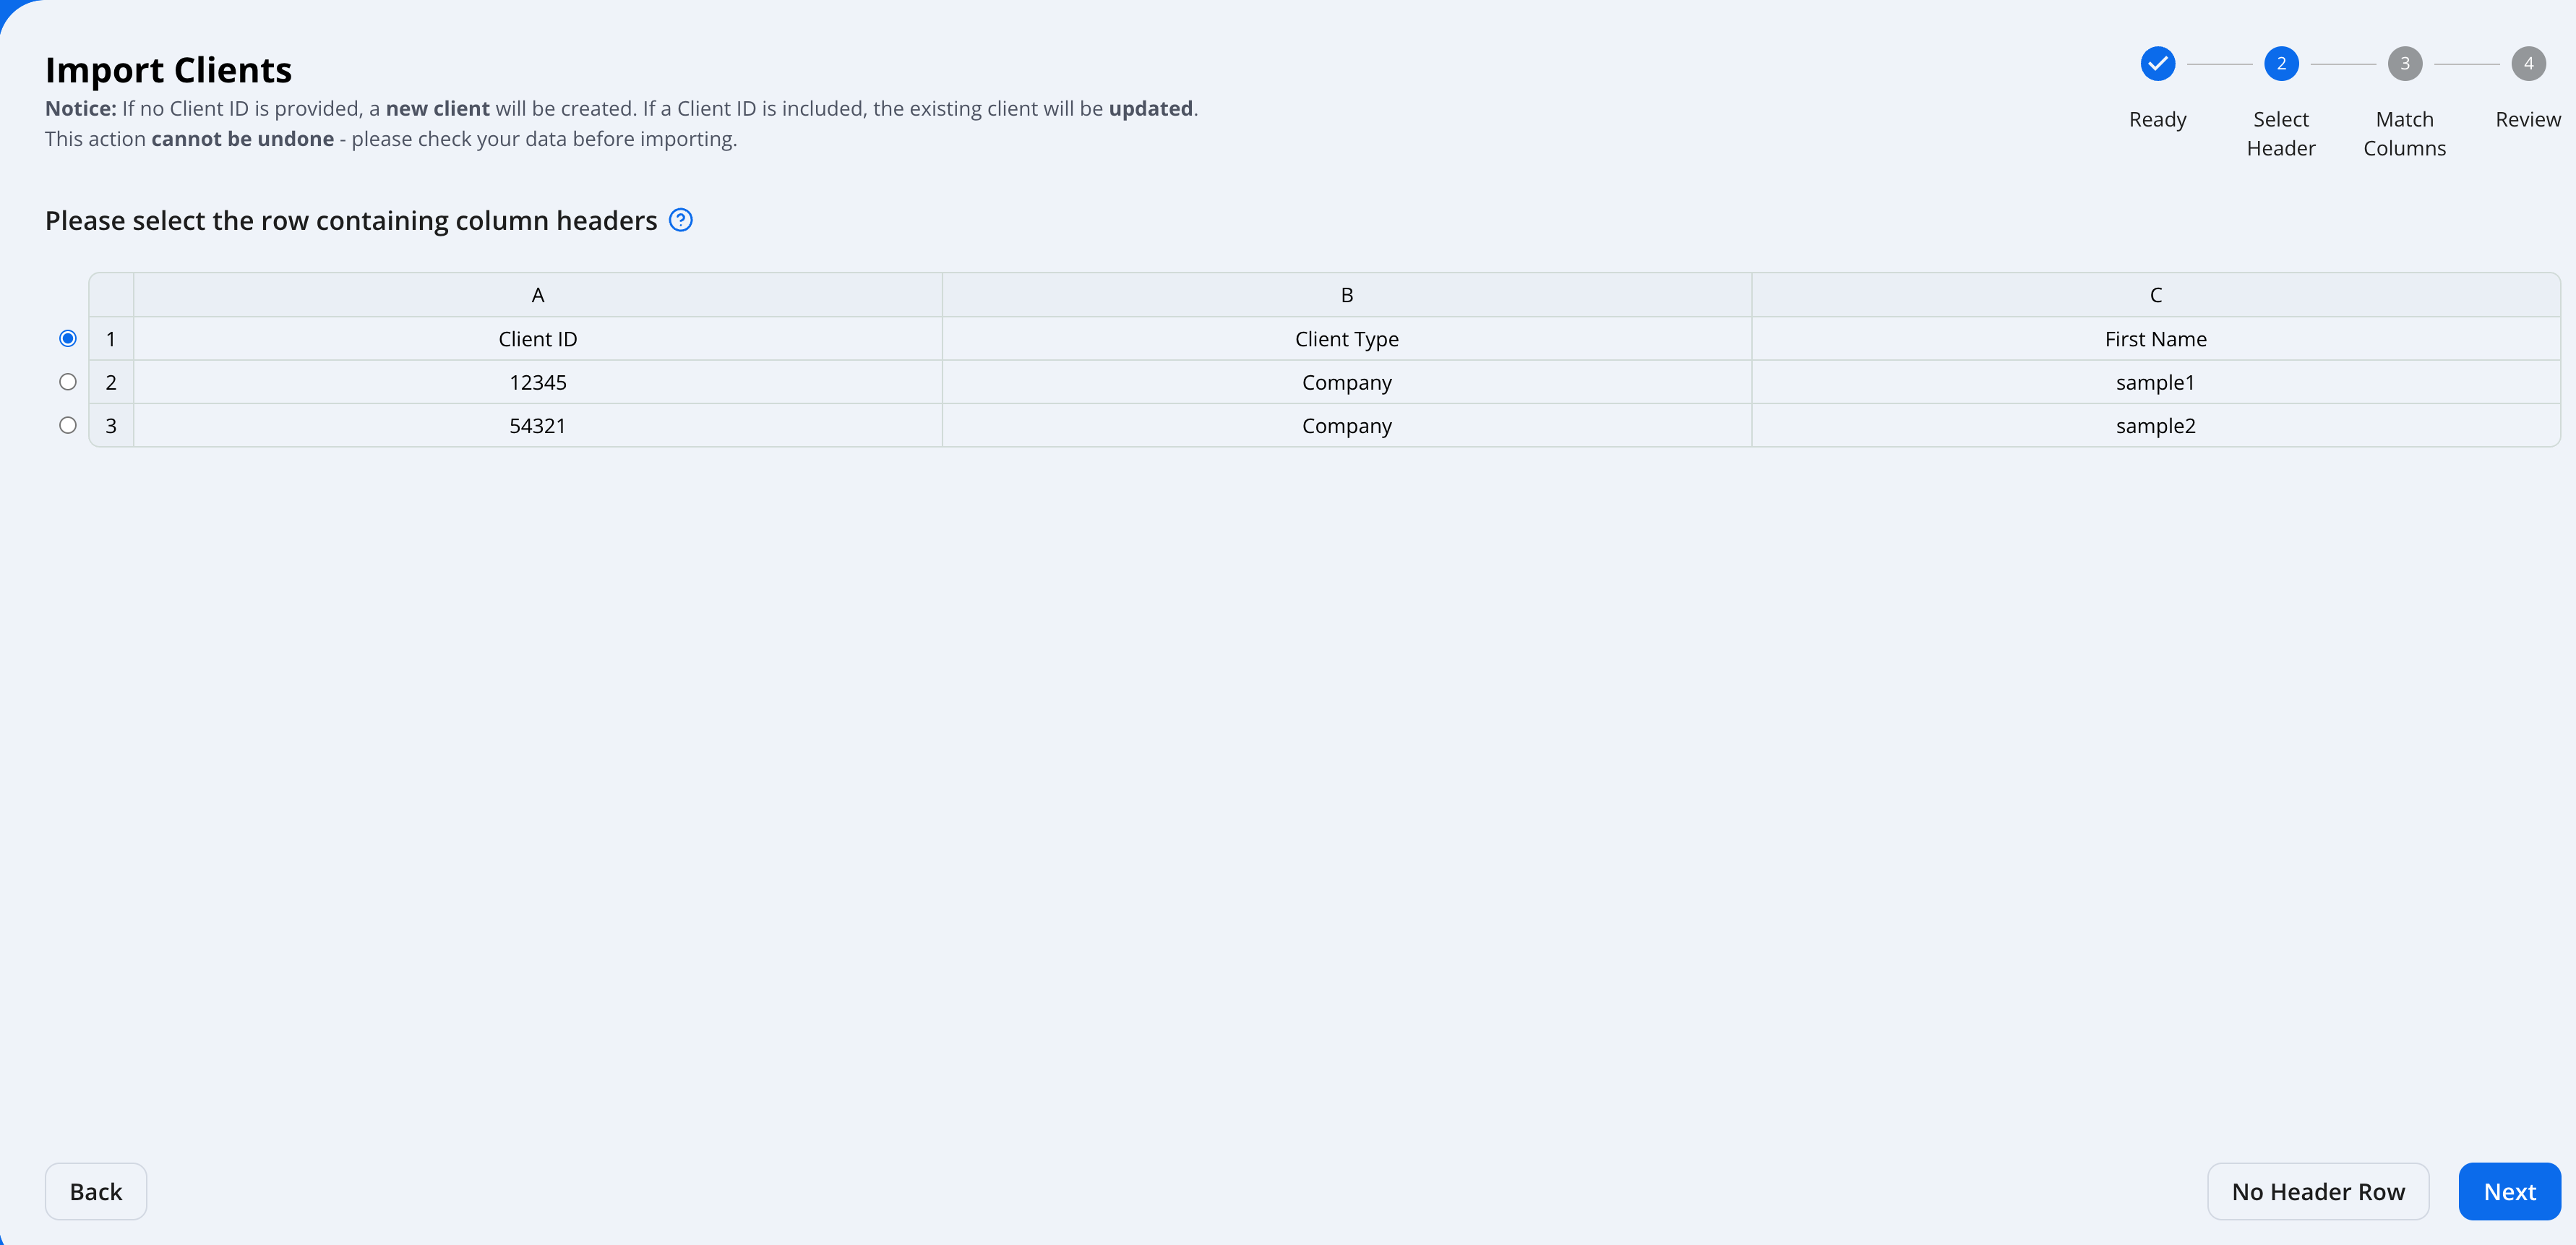
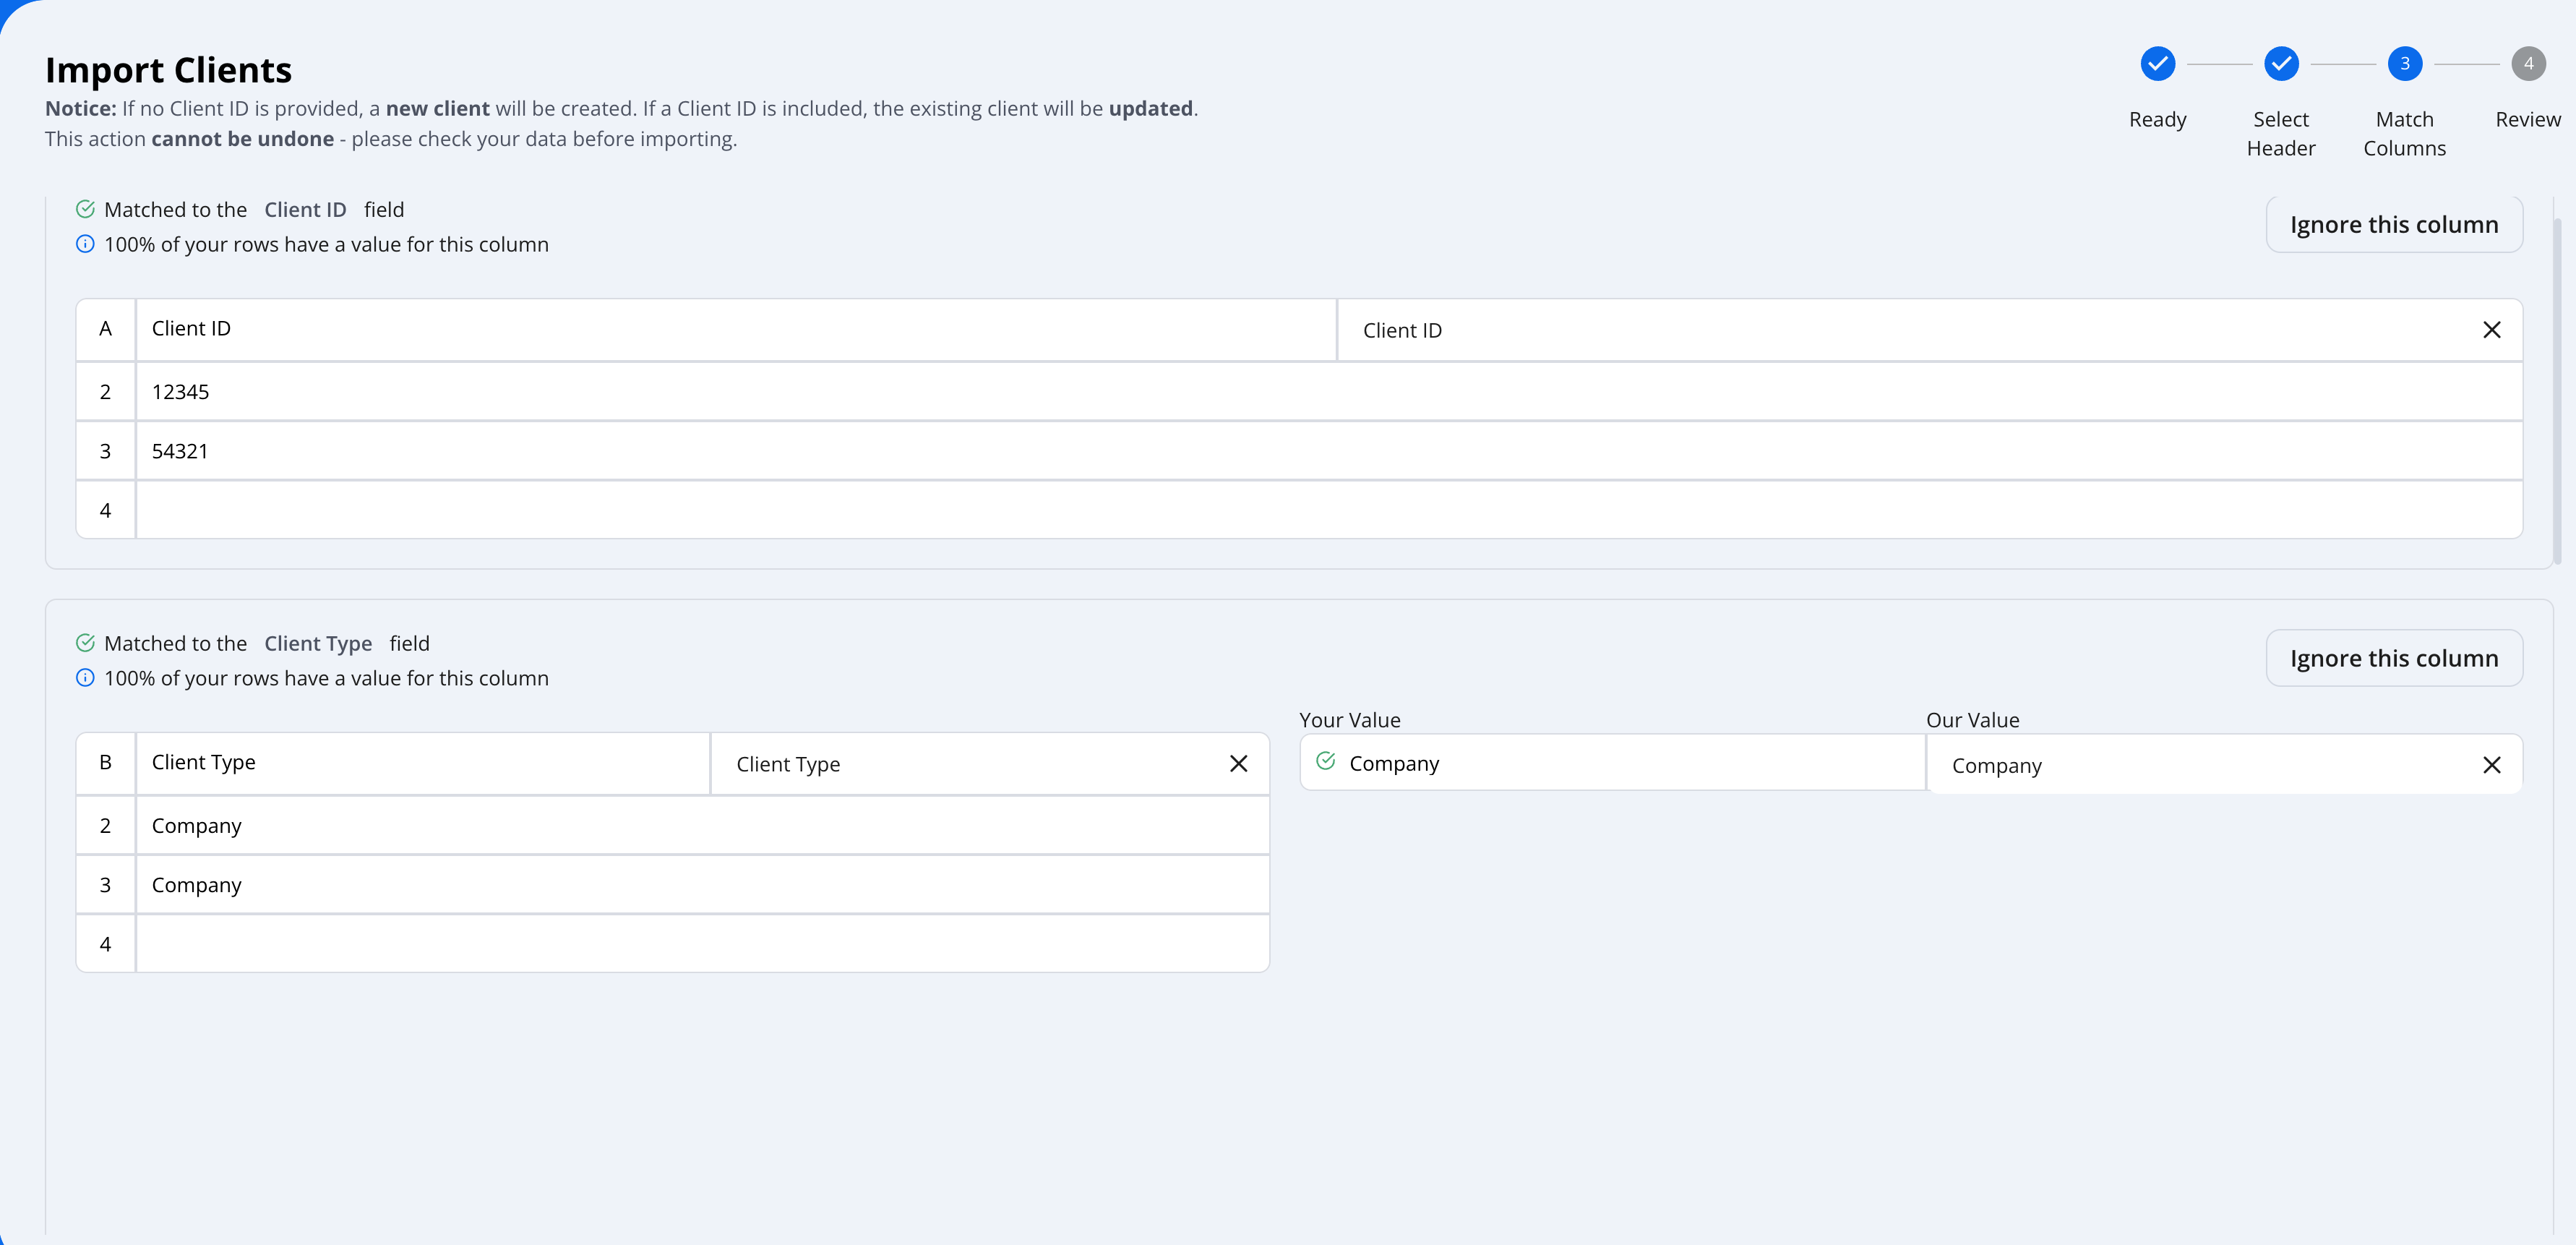
- Match Columns → align your file’s columns with Hypercore fields.
- Preview → preview the data, clean up errors, or remove bad rows.
📘 For another detailed walkthrough, please see the guide on uploading Transactions here .
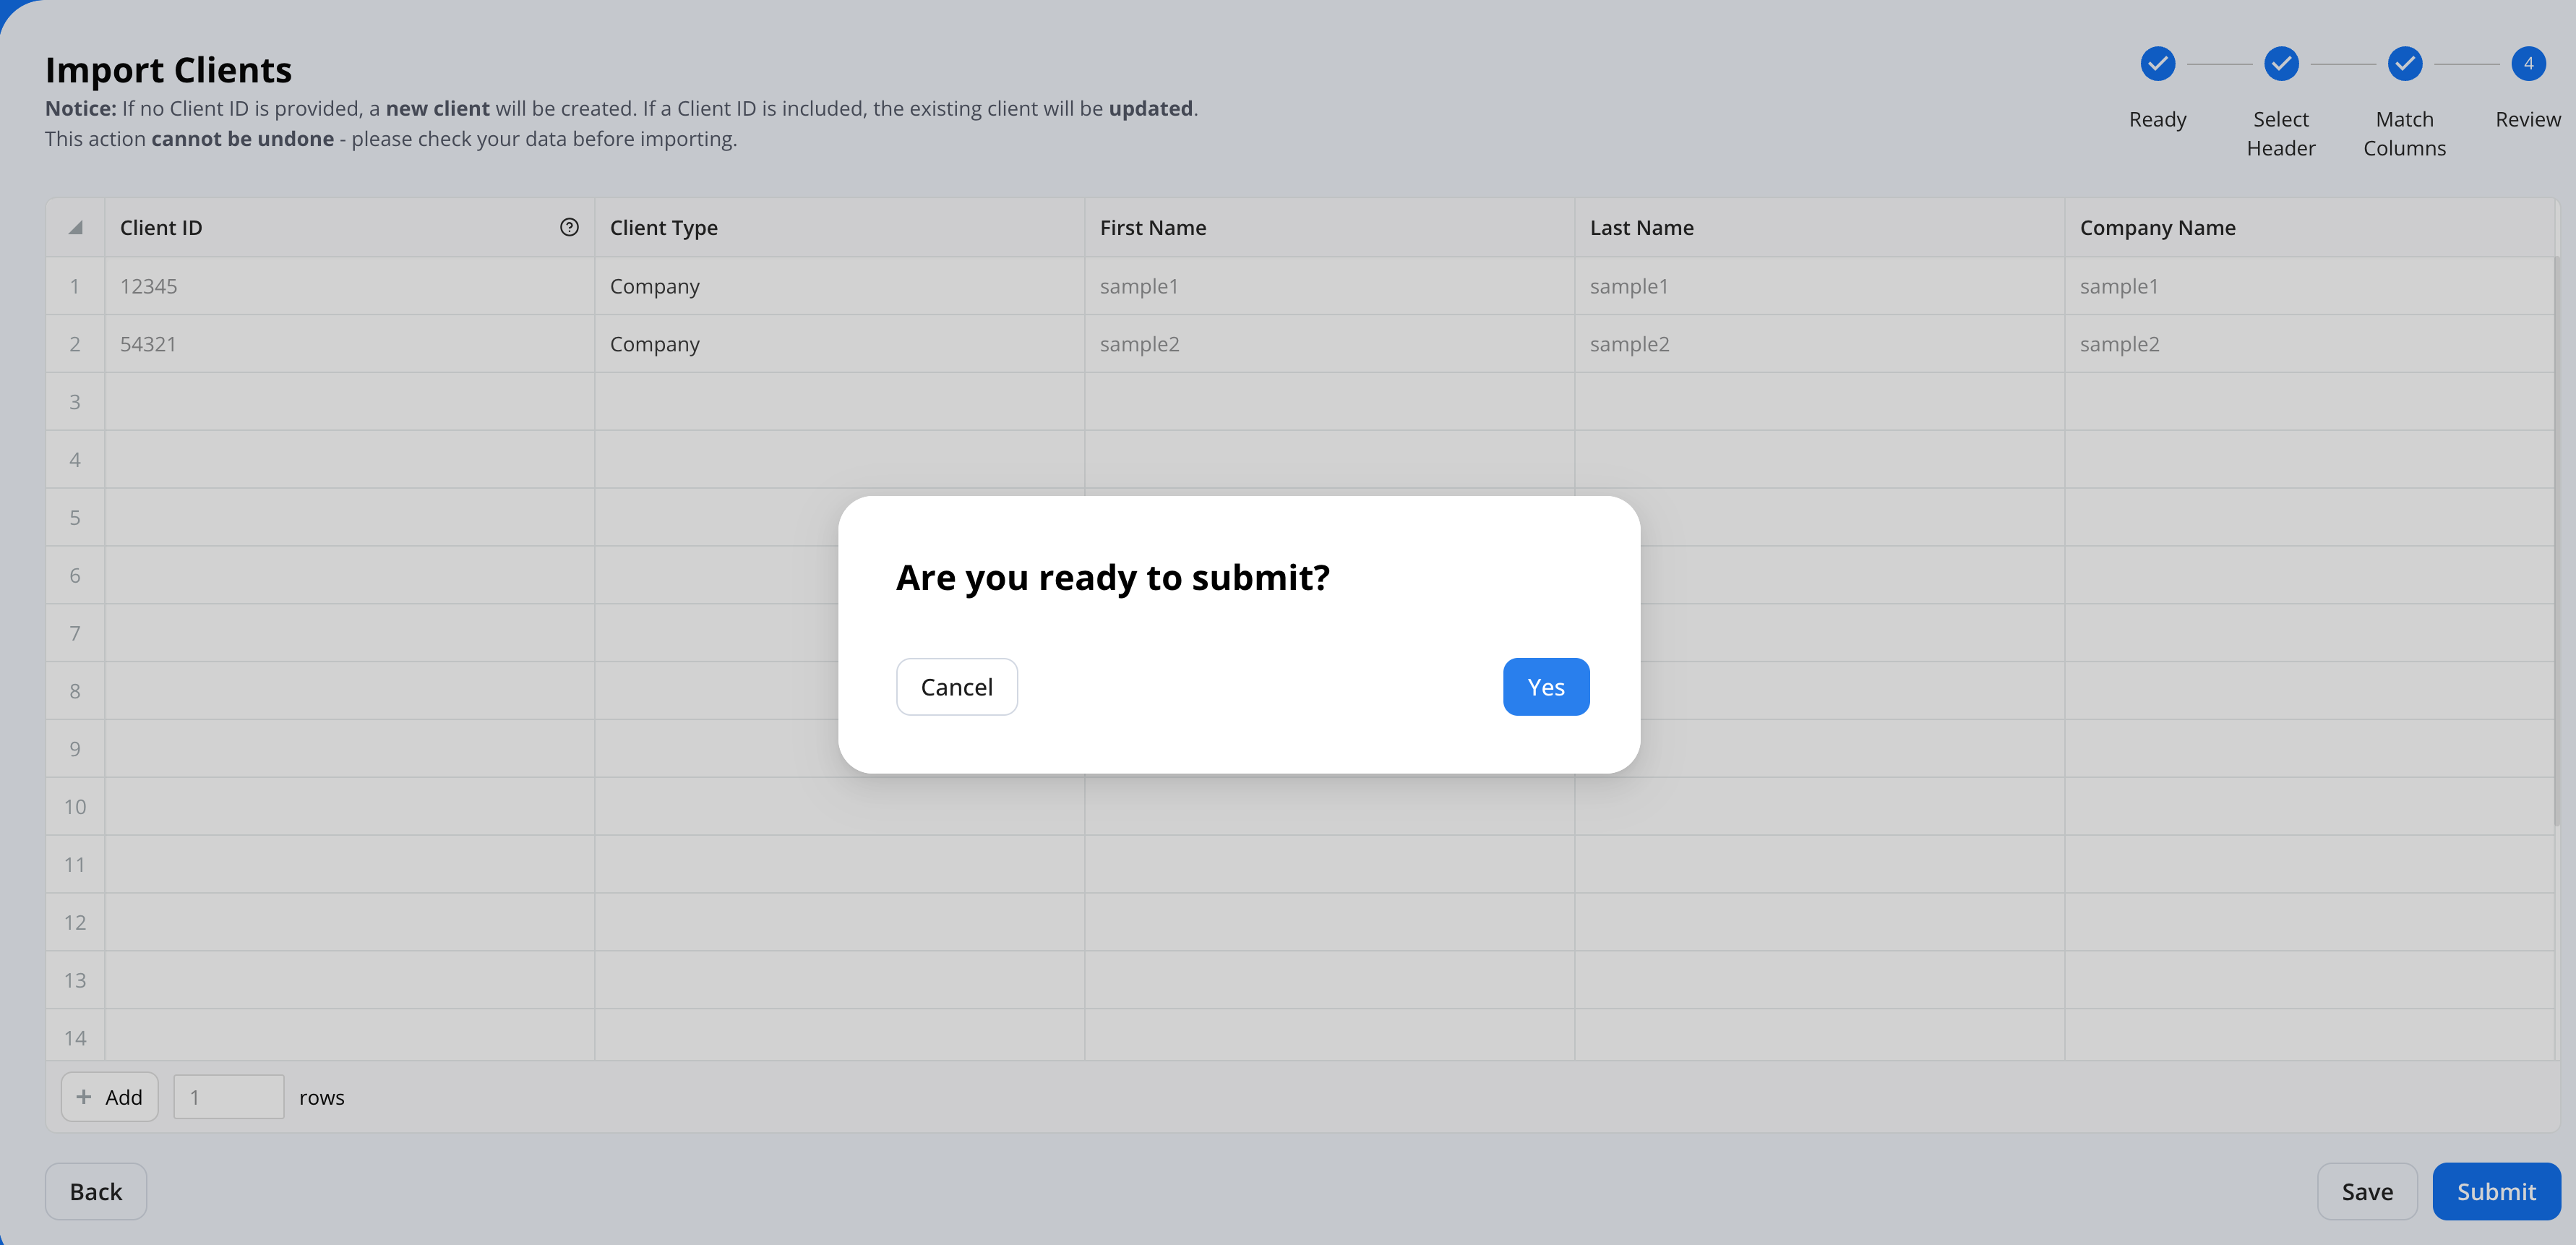
3. Review Step
After uploading a file or entering data manually, you’ll arrive at the Preview & Review screen. This step ensures accuracy before the import is finalized.
What You'll See:
- A full list of imported clients
- Status filters (e.g. Completed, Pending, Failed)
- Validation messages for any mismatches with expected repayment schedules
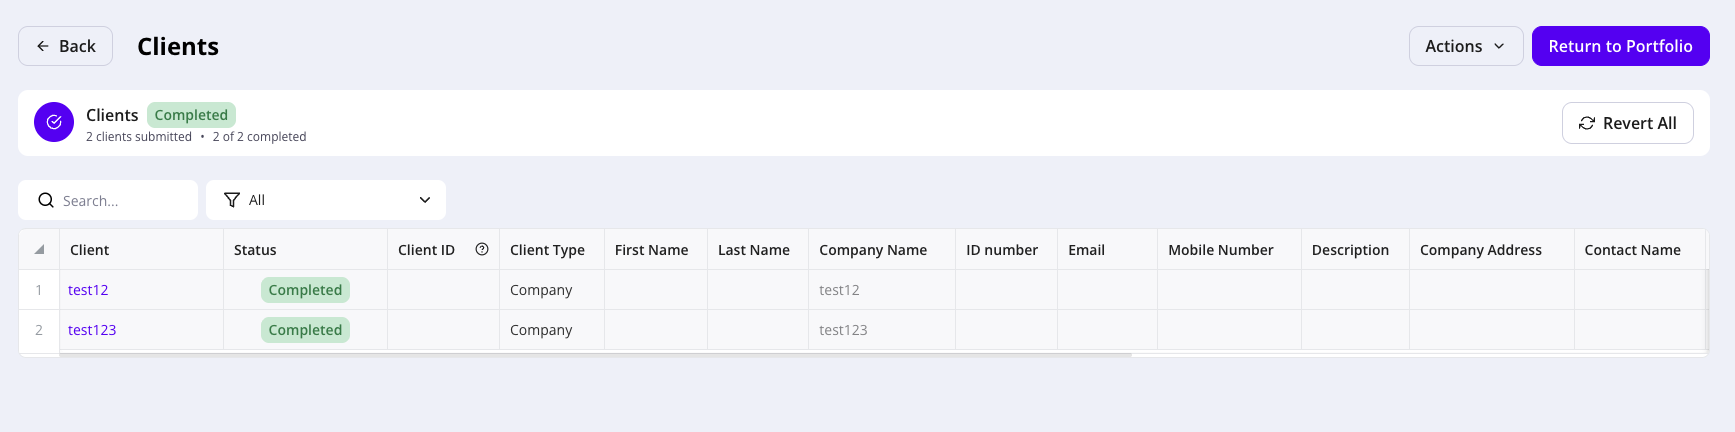
Actions Available
- Revert Bulk Upload: If you identify an error after execution, you can revert the entire import batch from the Import screen, or revert an individual record by opening it and clicking Revert in the sidebar.
- Export to CSV: Download a file with full details for external review or archiving.
Key Notes
- Start simple: When onboarding, bulk upload simple loans first. Enter complex loans manually.
- Recommended order: Clients → Loans → Fees → Transactions.
- Validate after upload: Spot-check sample records to confirm data accuracy.
- Double-check irreversible actions: Especially Loan Terms uploads, since they overwrite existing terms.
Need Help?
For additional support, contact us at support@hypercore.ai .